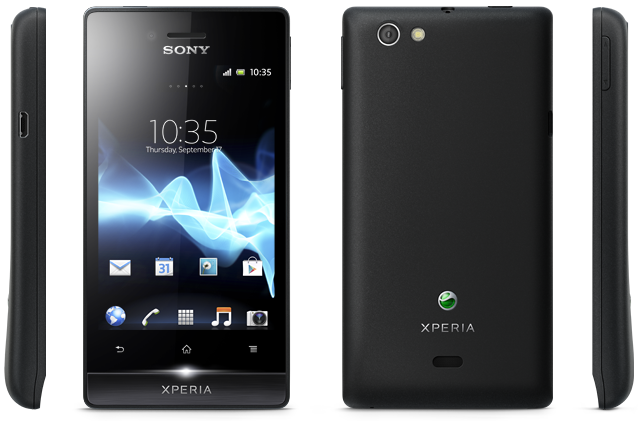
Xperia Miro ST23i/ST23a is one of the best mid range android Smartphones launched by the Sony. It runs on Android 4.0.4 ICS out of the box and had not yet received any Jelly Bean or Kitkat update, and there is no change for it to receive any Android updates in future. So in order to update Xperia Miro ST23i/ST23a we must depend on Custom ROM’s. In this guide we have brought one such Custom ROM which will update Xperia Miro ST23i/ST23a to Android 4.4.2 Kitkat and is called CM 11 ROM.
 So if you are owner or user of this device then you can install this ROM on your Xperia Miro ST23i/ST23a device and enjoy Android 4.4.2 Kitkat. CM 11 ROM is based on Android 4.4.2 Kitkat firmware and packs lot of features of its own like speed and smoothness, security enhancements etc. Before we proceed to Update Xperia Miro ST23i/ST23a to Android 4.4.2 Kitkat we must follow some set of instructions called pre requisites, to prepare Xperia Miro ST23i/ST23a for the installation process and also to avoid it from bricking during installation process.
Pre Requisites:
- Make sure your device is Xperia Miro ST23i/ST23a.
- Backup all of your data to a safe location, as we are going to install the Custom ROM which will erase all of the data on the device.
- Charge your device to at least 75%, to avoid it from shutting down in between the rooting process, if happened this may brick your device.
- Make sure USB Debugging is enabled on your device. Check in Settings > Developer Options > USB Debugging.
- Download and install USB drivers suitable for your device from here.
- Setup ADB and Fastboot drivers on your PC from here.
- Backup TA partition. Follow here.
- Unlock Bootloader on your device from here.
- Root Xperia Miro ST23i/ST23a from here.
Disclaimer:
We should not be held liable or responsible in any manner for any damage occurred to your Xperia Miro ST23i/ST23a device. So understand the risk involved and proceed further at your own risk.
Guide to update Miro ST23i/ST23a to Android 4.4.2 Kitkat using CM 11 ROM
#1. Download CM 11 Android 4.4.2 ROM Package from here to your PC.
#2. Download Google Apps Package from here to your PC. [Mirror]
#3. Extract the ROM zip on PC and copy the boot.img file from it, to the Fastboot folder.
#4. Now copy the full ROM.zip file and Google Apps Package to the Root of your device’s SD card. Power off your device.
#5. Enter into Fastboot mode. To do so connect the USB cable to PC and hold Volume Up in your device and connect it to PC. Now the LED will turn blue.
# 6: Open Command Prompt inside Fastboot folder in PC. To do so open Fastboot folder in PC and press and hold Shift Key and right click anywhere inside the Fastboot folder in the empty space. Now from the list click on open command window here.
#7: Now in CMD type: fastboot flash boot boot.img and press enter.
#8: Now it will flash boot.img on your device. Now type: fastboot reboot and press enter.
#9: Now when your device is booting up, press power button or volume up/down to enter into recovery mode.
#10: Now in recovery mode, select “Install zip from SD card” and choose the CM 11 ROM package which you have copied on your device’s SD card and install it.
#11: Now again follow the above step, but this time choose Google Apps Package and install it.
#12: Once done Go Back and select “reboot system now”, this will boot your device into normal mode.
Note: The first boot may take some time, so please be patience and wait for it to boot up successfully. If at all your device gets into boot loop sequence then you have to remove battery and reinsert it and clear all the data and wipe cache and dalvik cache and boot your device. If this doesn’t solve then follow the above procedure again.
#13: Once the device boots up you are ready to experience the Android 4.4.2 Kitkat on your Xperia Miro ST23i/ST23a device.


